Your first loaf
doesn’t need every answer.
Start with a clear recipe, learn the stage in front of you, and keep a few notes. This path helps you know what to read and what to check next.
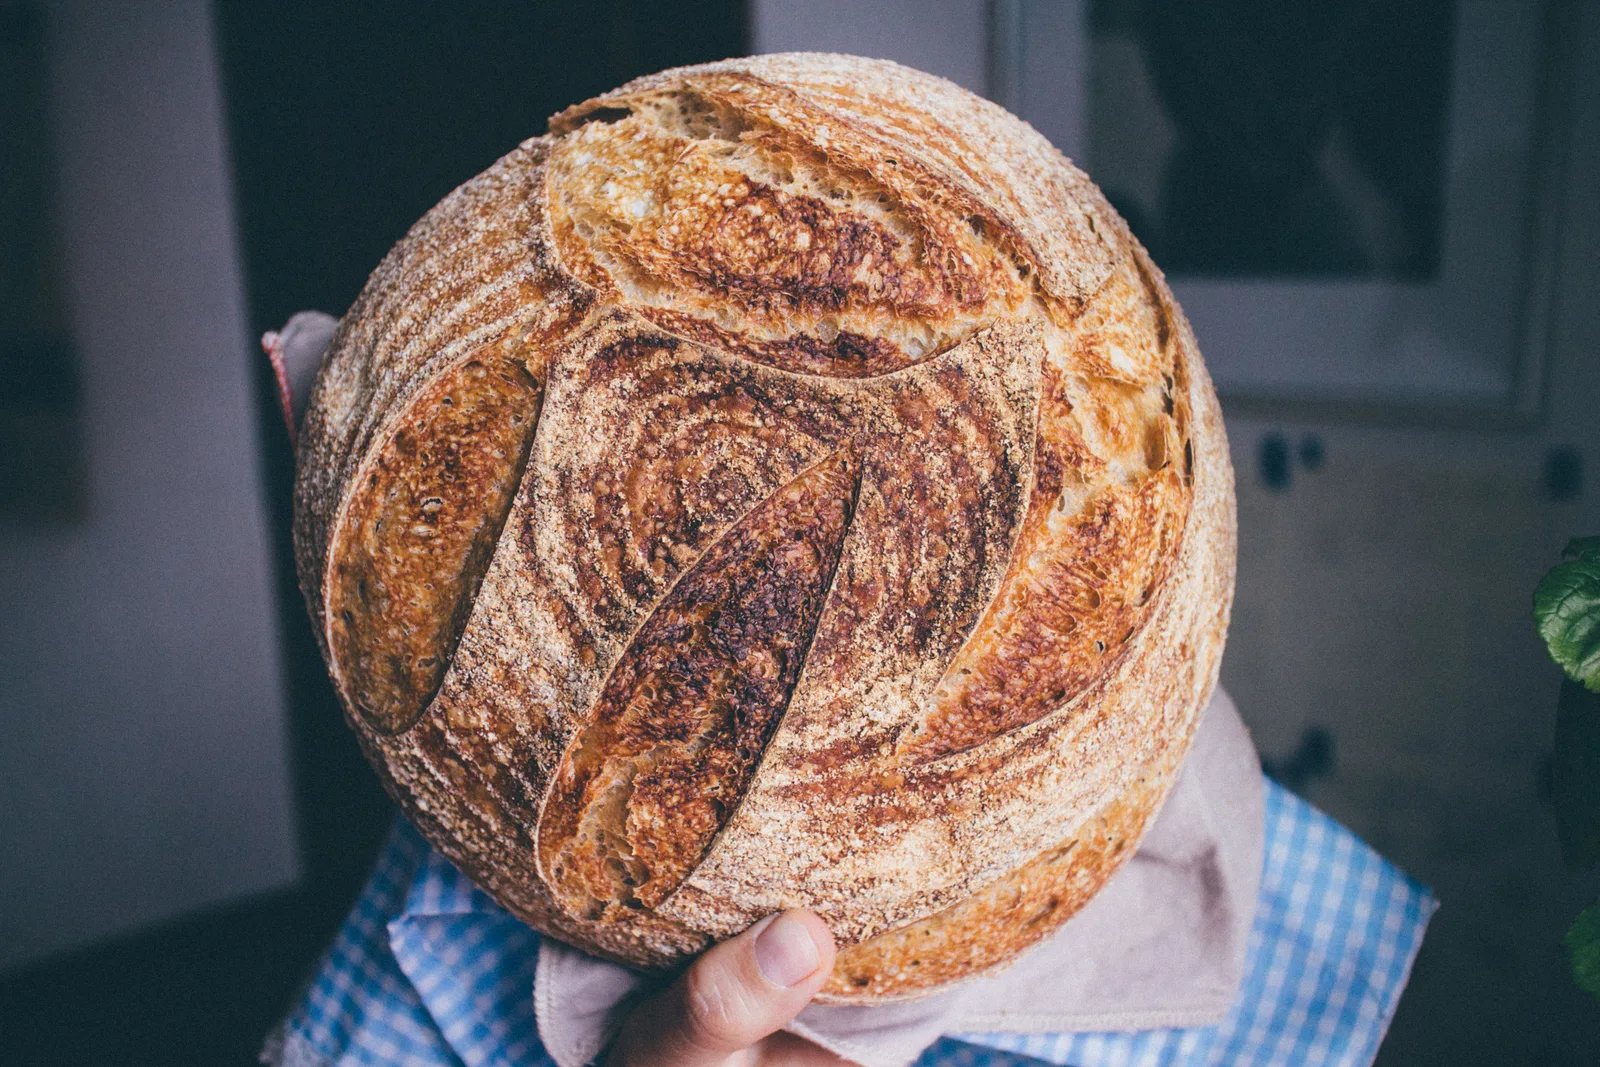
Before the flour hits the bowl.
- A recipe you can read from start to finish, with an equipment list.
- A scale and a clean container with room for the dough to rise.
- A way to note times and temperatures, plus suitable oven protection.
- An honest picture of when you can mix, handle and bake.
New to naturally leavened bread? The Perfect Loaf’s beginner recipe supplies a complete baking process. Keep the publisher’s instructions alongside these explanatory guides.
Start with one recipe and a working starter.
Pick a complete published recipe before adapting quantities. Note whether it needs a ripe starter, discard, commercial yeast or a combination. If your starter is new, give it time to develop a repeatable feeding response rather than planning around a fixed birthday.
Read the whole formula.
List everything in the bowl, including the flour and water inside the starter. Check the recipe’s loaf size and equipment before changing its scale. A calculator helps with quantities; it does not make a formula suitable for a different flour or a different pan.
Leave room in the timetable.
Work backwards from a practical oven time, then keep space to respond to the dough. Mark the mixing time and record dough temperature. If a rest includes starter, fermentation is already happening, so count it once in the overall process.
Watch what changes in the bowl.
During bulk fermentation, look at rise, aeration, strength and movement together. The point is to understand the dough’s progress, not to chase a single visual trick. Follow the handling sequence of your chosen recipe before adding more folds or water.
Shape, proof and prepare the oven.
Keep bulk and final proof separate in your notes. Match the loaf’s shape to the basket or pan you are using. Read your baking vessel’s instructions before preheating or introducing steam; not every vessel or oven accepts the same method.
Cool, slice and choose one next change.
Give the loaf its cooling period before judging the center. Photograph the whole loaf and its cross-section, note when you sliced it, and describe what you see before naming a cause. Keep the formula and actual timings so the next comparison means something.
Choose your next useful tool.
You can learn from a modest, even crumb as well as an open one. A sandwich loaf and a free-standing country loaf have different jobs. Use the bread-style guide to choose the result you actually want.