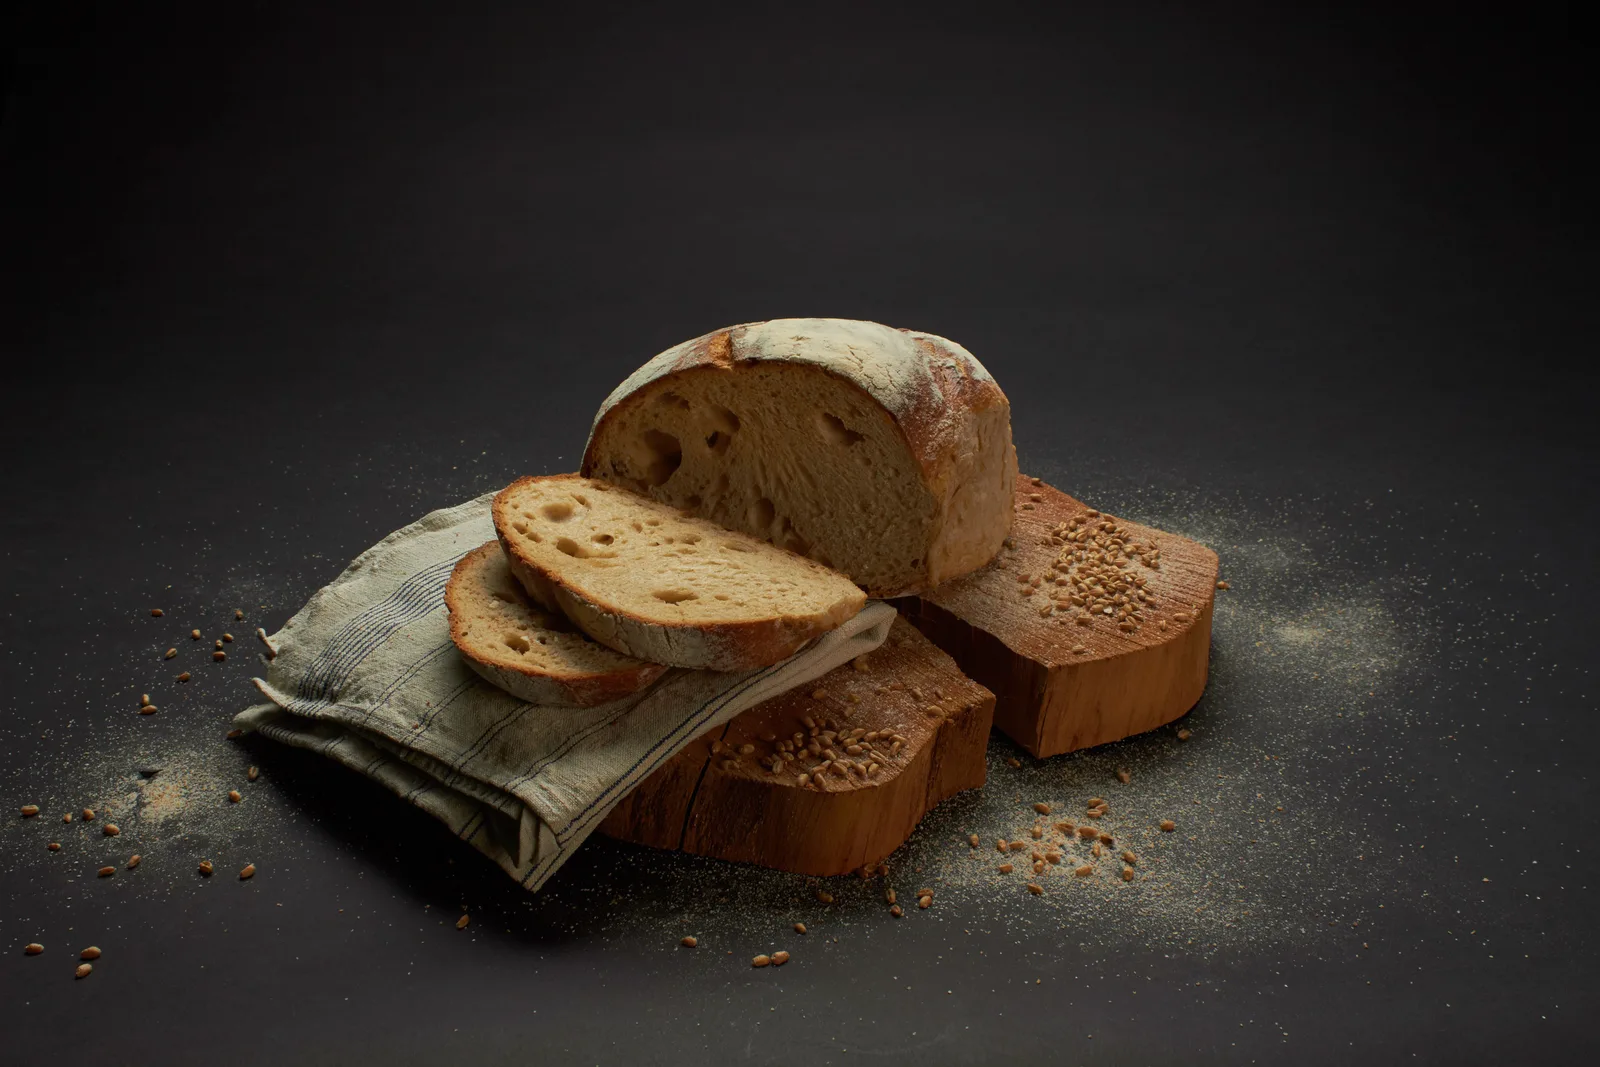
Use a manufacturer-compatible method to retain moisture early in the bake, then allow the crust to finish in a drier environment. A covered baker often uses the dough’s own moisture. Never assume a pot permits empty preheating or that a steam-cleaning oven supports steam baking.
- Check temperature and use limits for the vessel, lid, knob, liner, and oven.
- Do not add liquid to hot glass or cold water to hot cast iron or enamel.
- Keep water away from door glass, lights, elements, and electrical components.
- Record covered and uncovered stages separately; more steam is not the answer to every crust problem.
Choose an equipment-compatible way to retain moisture
For many crusty wheat sourdough hearth loaves, moisture during the early bake helps the surface remain flexible while the dough expands. The later bake needs a drier environment to finish the crust. A covered bread baker can capture moisture released by the dough itself; an oven with a genuine steam-baking function supplies it through the appliance. These are different systems, and the right choice depends on equipment instructions as well as the recipe.
Begin with a complete baking method that your oven and vessel can support. More visible steam is not automatically a better result, and adding water is not a required upgrade to every covered-pot recipe. This guide explains how to choose and evaluate a setup. It deliberately does not provide a universal quantity of water to throw into a hot oven, because oven construction and cookware limits make that a poor instruction for an unknown kitchen.
Understand the early and late stages
King Arthur's steam guide explains that early moisture delays surface setting and contributes to the appearance of the crust. It also describes a dry finishing stage after the loaf has expanded. This provides a useful way to read a recipe: the initial covered or steamed portion and the later uncovered portion serve different purposes. Keeping a loaf enclosed for the entire bake is not equivalent to following the same total time with a planned dry finish.
Translate the recipe into stages before preheating: loading, early covered or steam phase, transition, and finishing. Beside each stage, write the relevant action and the equipment involved. A method might remove a lid; another might change an oven setting. Do not combine those operations indiscriminately. The transition should be something you can perform safely and predictably in your setup, not a last-minute reaction to whether condensation is visible through the door.
Read the weakest component’s temperature limit
A pot body, lid, knob, handle, liner, and parchment may have different temperature or use limits. Check the instructions for the exact components you will use, including replacements. An oven-safe label does not necessarily permit empty preheating, broiler exposure, thermal shock, or every temperature mentioned in a bread recipe. Likewise, a loaf-sized pot is not automatically a bread-baking vessel just because another product of the same material is used that way.
Make the compatibility decision before mixing dough. If your recipe requires a procedure the manufacturer does not permit, choose a different complete method or suitable equipment. Do not remove a required component, improvise a handle, or assume a towel over the lid makes an unsuitable setup safe. The practical question is whether the whole assembled system supports the intended bake, including loading, opening, and removal, not only whether the main pot can tolerate heat.
Distinguish a preheated vessel from a cold start
Some bread methods use a preheated baking vessel; others place dough in an unheated vessel and follow a different heating sequence. These approaches have different loading and heat-transfer conditions. Le Creuset's no-knead article explicitly advises against heating an empty Dutch oven and discusses methods that avoid that step. Do not apply a generic instruction to preheat every Dutch oven when your particular manufacturer's guidance says otherwise.
Be precise about 'cold start.' It can be used informally for an unheated pot entering a hot oven or for a method that starts with both oven and vessel cold. Those are not the same schedule. Record the recipe's actual sequence and follow it as a whole. Replacing a hot-pot method with a cold-pot method while leaving every time and temperature unchanged is an adaptation that needs evaluation, not an equivalent instruction.
Use a covered baker without unnecessary water additions
A suitable covered vessel confines moisture released by the loaf. King Arthur's comparison of steam methods includes Dutch-oven baking as one way to achieve that environment. Follow a recipe matched to the vessel, with enough clearance for the expanding loaf and a lid that can be handled safely. A tight fit between a raw loaf and the walls is not evidence that it will have adequate room after expansion.
Prepare the transfer method while the equipment is cold. Check that any parchment is rated for the intended use and that it will not contact an element or interfere with the lid. Do not treat ordinary paper or an unverified silicone mat as interchangeable. Avoid adding ice or pouring water into a hot covered pot merely because a video shows it; the vessel's instructions and the selected recipe determine whether additional liquid belongs in the method at all.
Use built-in steam only through its cooking instructions
If the oven has a steam-baking program, use its manual for the water reservoir, approved water type, preheating, steam level, and venting sequence. Those details are model-specific. An appliance that produces steam for one operation does not necessarily support the same operation during a bread bake. Keep reservoir filling and cleaning procedures distinct from actions performed while the cooking chamber is hot.
A setting called Steam Clean is particularly easy to misread. Whirlpool describes that feature as a cleaning cycle, not a bread-steaming program. Its cleaning directions may involve water on the cavity floor under specified cool-start conditions; they are not authorization to pour water onto a hot oven floor during baking. Confirm the actual cooking feature in your model's manual instead of inferring it from a steam symbol or a marketing phrase.
| Equipment situation | Suitable next step | Do not infer |
|---|---|---|
| Approved covered bread baker | Use its compatible covered/uncovered recipe | Extra ice or water is required |
| Genuine steam-baking oven | Follow model-specific cooking instructions | Steam Clean means steam baking |
| Unknown oven compatibility | Check the manual or choose another supported method | A blog photo establishes permission |
| Hot glass dish | Do not add liquid | Heat-resistant glass is safe as a steam tray |
Treat open-oven steam pans as a separate method
Some published bread methods use a separate metal tray or pan to create steam in an otherwise open baking chamber. Whether that is appropriate depends on the oven, the tray, its position, and the complete procedure. If your appliance manufacturer does not permit the arrangement, choose a supported alternative. Do not block vents, cover the oven floor, obstruct burners or elements, or seal a door in an attempt to retain moisture.
Do not improvise by substituting a glass casserole for a metal steam tray. Pyrex explicitly warns against adding liquid to already-hot glass because it can break. Keep water away from the oven door glass, light, electrical parts, and heating elements. A recipe image cannot establish that an arrangement is safe for your appliance. If the permitted method requires handling a hot liquid-filled pan that you cannot control confidently, select another method before starting the bake.
Avoid thermal shock during baking and cleanup
Thermal shock is relevant when cookware experiences a sudden temperature change. Le Creuset's care instructions tell users to let cookware cool before cleaning and not to fill or plunge a hot product into cold water. This also makes a useful practical boundary for bread experiments: do not pour cold water into a hot cast-iron or enameled vessel to manufacture a sudden cloud of steam. Follow the exact product's care instructions even if another pan seems to tolerate the treatment.
Plan where each hot item will rest after removal, using suitable dry heat-resistant supports. Keep the area clear of wet cloths, spills, and items that cannot take heat. Do not rush washing because another loaf is waiting. Sequential baking should include a manufacturer-compatible turnaround method; it should not depend on quenching a hot pot. If the equipment cannot support your desired batch cadence, change the schedule rather than forcing the cookware through unsafe temperature changes.
Make the opening step part of the plan
Hot steam can escape when a lid or oven door is opened. Keep your face and exposed skin away from the opening, use appropriate dry oven mitts, and follow the appliance or vessel instructions for handling. Arrange a stable landing place for the lid before lifting it. A heavy cover is difficult to manage while also searching for somewhere to put it, especially if the counter is crowded with bowls and scoring tools.
At the planned transition, perform only the necessary operation and then resume the prescribed bake. Avoid hovering over the loaf for a close photograph while the steam escapes. If the recipe calls for removing a steam source, use only a procedure you can safely execute with that equipment. There is no visual benefit worth carrying an unstable pan of near-boiling water around an open oven door or reaching past another hot component unexpectedly.
Keep a stage record instead of chasing clouds
An illustrative bake log might divide a 45-minute total into 20 minutes covered and 25 minutes uncovered. The arithmetic is 20 + 25 = 45; these are sample record fields, not a recommended schedule or a doneness guarantee. If the cover stays on for 30 minutes while the total remains 45, the dry portion shrinks to 15 minutes. That change should appear in the record instead of being hidden under 'baked for 45 minutes as usual.'
Record the actual loading time, transition time, temperature settings, and any door opening that changed the procedure. Include the vessel and oven mode. Condensation on a window is not a measurement of moisture around the loaf, and lack of a visible cloud does not prove there was no steam inside a covered baker. Evaluate the process through the equipment setup and the finished result rather than trying to maintain a particular appearance through the glass.
Diagnose the result without adding water automatically
If the loaf has little expansion, review dough readiness, shaping, scoring, and oven preparation alongside the steam setup. If it opens but remains pale or soft, inspect the finishing stage and the recipe's doneness guidance. If the base darkens faster than the rest, examine the baking surface and rack arrangement within manufacturer limits. These observations lead to different adjustments; none justifies the blanket instruction to add more water next time.
Compare the crust after similar cooling and storage. A loaf assessed straight from the oven and another left in a bag for hours are not an informative steam comparison. Record the characteristic you wanted, such as a crisp crust that remains pleasant to slice, rather than judging only blistering or shine. Follow the recipe's cooling guidance before cutting. Steam is one part of the bake, and its visual effects should not replace an assessment of the bread's practical eating quality.
| Observed result | Inspect before changing steam | Record for comparison |
|---|---|---|
| Little expansion | Proofing, shaping, score, oven readiness | Dough condition at loading |
| Soft or pale crust | Dry finish and recipe doneness guidance | Actual cover-removal time |
| Base too dark | Surface, rack, and allowed heat setup | Vessel and oven mode |
| Different crust after storage | Cooling and packaging conditions | When and how the loaf was evaluated |
Choose an experiment your equipment can repeat
Once a safe, compatible method works, compare only a modest procedural change allowed by the recipe and manufacturer. For example, record whether consistently completing the specified dry finish resolves a recurring soft crust before trying a different steaming system. Keep loaf formula, weight, proofing, and oven placement steady. This is a proposed comparison approach, not a claim that Sourdough Bench has measured crust performance across ovens or cookware brands.
Retain the setup that is easy to repeat and handle safely. If a covered baker delivers the crust you want, an elaborate steam tray arrangement may add work without answering a useful question. If you need to bake shapes or quantities that do not fit a covered vessel, choose an oven-compatible open method deliberately. The finished workflow should explain where moisture comes from, when it is released, and how every hot component is handled from loading through cooling.
Sources & further reading
This guide combines published references with our own explanations and decision aids. Numerical examples are illustrative; they are not records of Sourdough Bench test bakes.
Put it into practice.
Keep the recipe, observations and next change together in your downloadable bake log. For a symptom-led starting point, use the loaf troubleshooting guide.