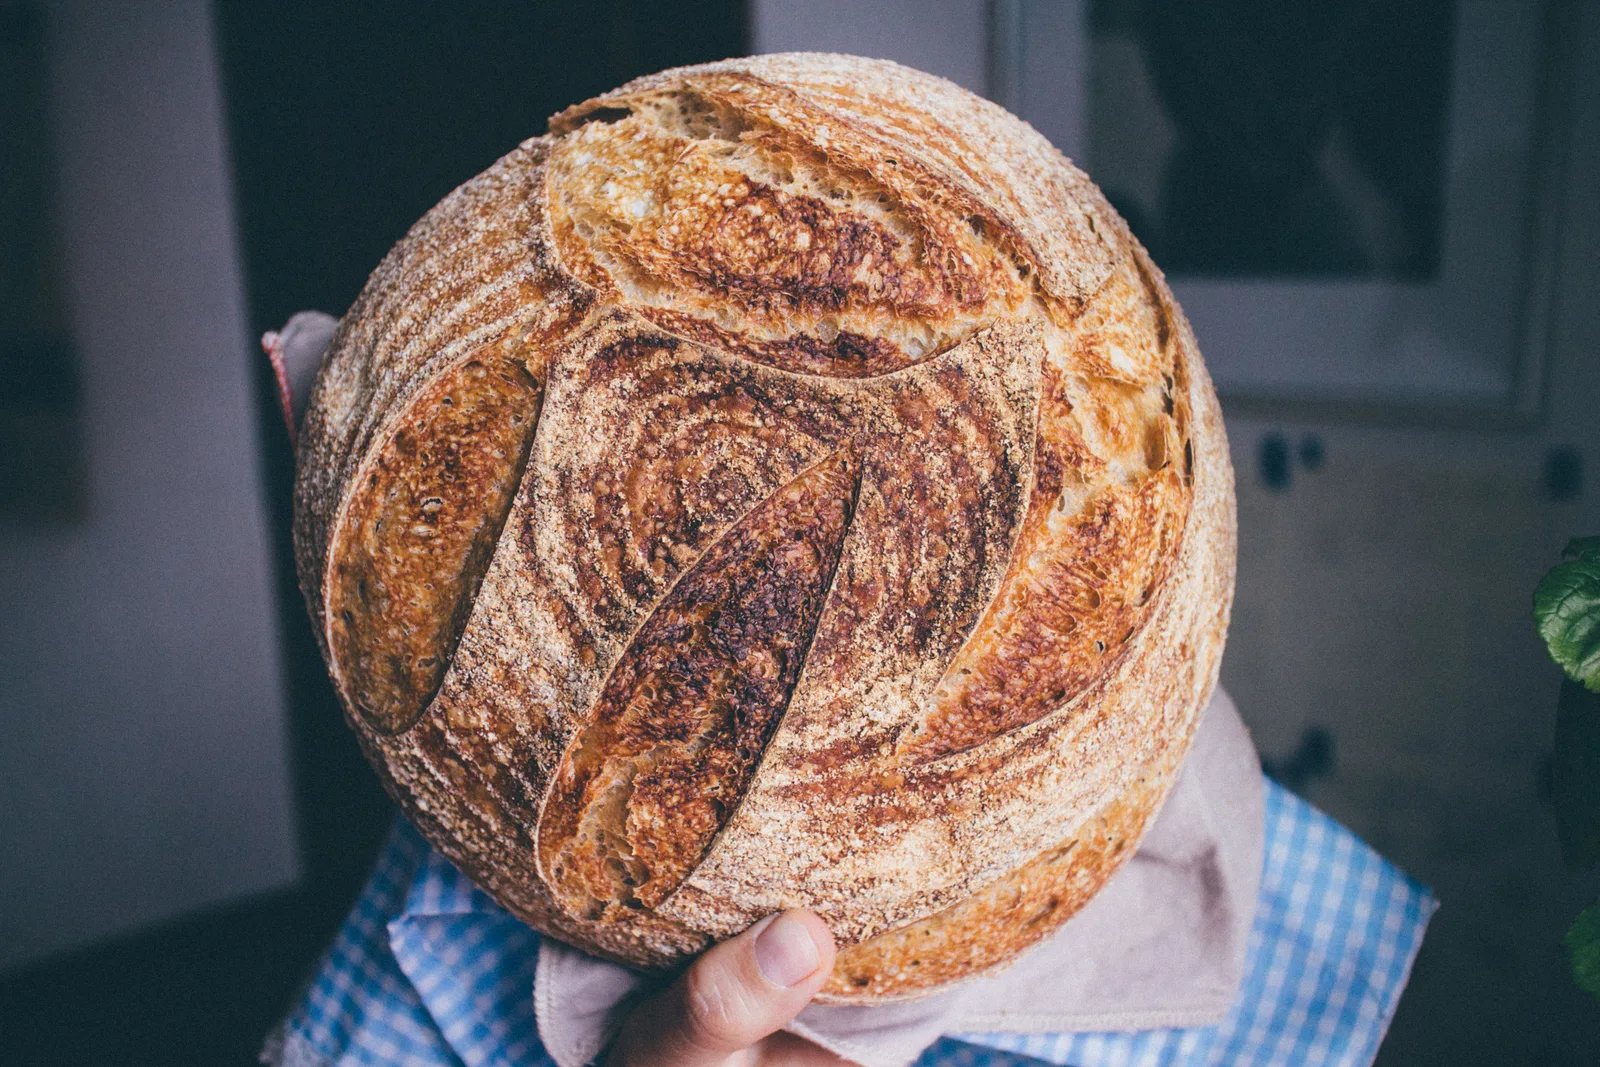
Choose a boule for a round loaf or a bâtard for an oval that fits your basket and baking vessel. Preshape and rest as the recipe directs, create a continuous outer surface without tearing, close the seam, and transfer with its orientation understood.
- Plan portion weight and equipment fit before final shaping.
- Bench flour depends on the movement; excessive flour can prevent traction or seam closure.
- Shaping organizes the dough but cannot erase its fermentation history.
- Locate the first handling problem instead of diagnosing everything from a flat baked loaf.
Select the shape before the dough reaches the bench
A boule is round; a bâtard is elongated or oval. Both can be made from many of the same lean wheat sourdough formulas. Choose between them by the bread you want to slice, the proofing support available, and the space inside your baking vessel. A long oval that cannot fit into the pot is a planning problem that no elegant hand movement will solve at the last moment.
This guide explains a manageable shaping sequence and how to read its problems. It is not a complete dough formula, and it does not promise a particular crumb pattern. The published demonstrations linked below show more than one valid method for each shape. Follow one complete method during practice rather than borrowing the beginning from one video, the tightening movement from another, and a proofing orientation from a third.
Check dough condition before blaming your hands
Shaping starts with the dough produced by mixing and bulk fermentation. If it is sticky, tight, unusually fragile, or poorly aerated before division, that history comes to the bench with it. A shaping technique can organize the mass, but it cannot reverse every earlier problem. Note the starting condition while the dough is still in its container. This makes it easier to distinguish a handling accident from a dough that was already difficult to work.
Use the chosen recipe's bulk endpoint rather than extending fermentation until the dough resembles a particular shaping demonstration. Videos often show a different flour, hydration, or batch size. A useful starting description is 'cohesive and aerated, releases with the scraper, spreads gradually.' It is more informative than 'ready' alone. If the mass is already breaking apart during gentle release, consult the formula and fermentation notes instead of adding repeated forceful tightening passes.
Match portion size, basket, and baking space
Weigh the whole batch before division if consistent portions matter. For an illustrative 1,760 g batch, two equal pieces are 880 g each; three equal pieces are approximately 586.7 g each. That arithmetic does not identify the right basket or baking time. It simply makes the size decision explicit. A large dough divided into smaller loaves may require different proofing support and a different oven arrangement from the original recipe.
Check the internal dimensions of the intended baking vessel, including narrowing walls and the room below its lid. Basket labels and nominal pot diameters do not describe every usable dimension. Select a recipe size the equipment maker or recipe author supports. For a new oval shape, sketch its intended footprint on paper and compare it with the vessel while everything is cold. This harmless planning step is easier than trying to shorten a proofed loaf beside hot equipment.
Divide without building a patchwork loaf
Turn the dough onto a suitable work surface and divide it with a bench knife rather than pulling the pieces apart. Use decisive cuts, then make only the small adjustments needed for your target weights. Keep track of the smoother outer face and the cut surfaces. If a small correction piece is necessary, incorporate it into the interior during preshaping rather than repeatedly attaching scraps to the future outer skin.
Exact equality is not always worth excessive handling. If the two pieces are 876 g and 884 g, the difference is 8 g, less than one percent of an 880 g target. You may reasonably accept that for home loaves and record the weights. If portion precision is important, plan for it before the dough is highly delicate. The purpose of weighing is consistency, not an invitation to keep cutting until the dough has been needlessly disturbed.
Use preshaping to make the next movement simpler
Preshaping gathers each portion into a manageable form before final shaping. The Perfect Loaf's preshaping guide describes a rest between these stages so the dough can relax. A loose round can prepare dough for either a boule or a bâtard, depending on the chosen method. This preliminary shape does not need the final loaf's finish. You are organizing the cut piece and establishing a useful starting position for the next step.
Follow the recipe's bench-rest guidance and observe whether the piece relaxes enough to move without fighting you. If it resists strongly when you begin final shaping, forcing it into the desired width is unlikely to improve control. If it spreads rapidly, record that behavior rather than assuming a longer rest is always the answer. Keep the surface from drying as appropriate to the kitchen and method; a dried skin and a relaxed dough are different conditions.
Control flour according to the movement
Flour helps prevent sticking, but the necessary amount depends on the method. King Arthur's boule guide uses some traction against the bench during tightening: an excessively floury surface makes the dough slide. Its bâtard guide demonstrates methods that do not depend on that same dragging action. This is why apparently contradictory instructions about a floured or relatively clean bench can both make sense when attached to different movements.
Use flour where release is needed, and keep it out of a seam you are trying to close. If the dough slides without tightening, clear a small working area instead of applying greater pressure. If your fingers adhere, address that contact point rather than burying the whole portion under flour. Keep a scraper for lifting and repositioning. Repeatedly adding flour until the dough feels dry changes both the handling and the interior layers you are creating.
Shape a boule with a continuous outer surface
One approachable boule method begins with a rested round turned so its smoother face is underneath. Fold the edges inward to gather the dough into a compact package, then turn it seam-side down. Cup your hands around the sides and use short controlled movements against the bench to organize the round. Stop before the outer surface tears. The published boule guides show variations in the order and intensity of these movements; a coherent surface matters more than matching a choreography exactly.
Look at the piece between movements. Is one side bulging, is the seam still exposed, or has the round become smooth enough to transfer? Rotate the dough to correct an uneven shape rather than repeatedly pulling in one direction. Do not chase a perfectly spherical ball at the cost of a ruptured surface. A modestly uneven loaf that remains intact is a better learning result than a polished-looking round achieved through repeated tearing and repair.
Shape a bâtard with an identifiable seam
A basic oval sequence starts from a rested piece with its smoother face underneath. Gently organize it into a manageable width, fold the sides inward as the chosen method directs, and roll or fold the dough into an elongated package. Seal the final seam without flattening the entire loaf. King Arthur and The Perfect Loaf show options for stronger dough and slacker dough; use the one that matches the mass rather than assuming the most elaborate version is always preferable.
Decide on the length before the final closure. An oval is not a round loaf stretched aggressively at the ends after it is finished. Keep the center supported while working, and avoid narrowing the ends merely to imitate a photograph. For sandwich slices, relatively blunt ends may suit your purpose better than dramatic points. Before transferring, locate the seam and check that the piece can be lifted as one unit without opening along its underside.
Transfer once, with the orientation understood
Prepare the proofing basket or lined support before final shaping begins. Many hearth-loaf methods place the dough seam-side up in the basket so it turns out smooth-side up for scoring. Some intentionally use another orientation for a rustic opening. Follow the recipe's plan and label it in your notes. Confusing the two can lead you to slash the seam side accidentally and then misinterpret the resulting expansion as a blade problem.
Bring the basket close enough that transfer is a small controlled movement. Use your hands and scraper as appropriate to support the whole piece instead of lifting it by an end. Once placed, correct a major off-center position gently, but resist repeatedly removing and reshaping the dough for cosmetic reasons. If the basket is clearly the wrong size, record that equipment mismatch for the next bake rather than interpreting its forced outline as evidence about your shaping skill.
Troubleshoot the point where control was lost
If the outside tears during tightening, reduce the number and force of further passes. Check whether the piece needed more relaxation or whether friction was concentrated at one spot. If the seam reopens, inspect whether flour separated the surfaces or whether the package was under too much tension when closed. If the loaf spreads, consider the starting dough condition and the support it was given, not only the last hand movement.
When a shaped loaf sticks during release, do not yank harder and call the resulting tear a shaping failure. Investigate basket preparation, liner condition, and the dough's proofing history. Record when the problem first appeared: at division, final shaping, basket placement, or release. That location narrows the next experiment. 'Flat loaf' is a result; 'seam opened during transfer' is a specific event you can work on next time.
| Where the problem appears | What to inspect | A useful next goal |
|---|---|---|
| Tears during tightening | Force, rest, and concentrated bench friction | Fewer controlled passes |
| Seam opens on closure | Flour inside the seam and excess tension | Keep joining surfaces clean |
| Piece stretches in transfer | Lift support and basket distance | Prepare a shorter transfer |
| Loaf sticks on release | Basket preparation and proof history | Separate release problems from shaping |
Practice one shape without making a performance of it
Choose a familiar formula and repeat one shape for several bakes before comparing elaborate alternatives. Select a single practical goal, such as sealing the seam cleanly or transferring without stretching an end. A short video from your own workspace can help you notice unnecessary repetitions, but written notes are enough. The linked professional demonstrations are references for movement, not a standard requiring you to work at their speed.
If making two loaves from one batch, try the same sequence on both and record which motion felt more controlled. Do not automatically turn each loaf into a different experiment. Repetition shows whether a method is becoming consistent. Once it is, changing to an oval or a gentler sequence has a clearer baseline. The point of practice is to reduce hesitation and accidental damage, not to produce a dramatic display of flour and rapid movements.
Compare the bread in a way that serves its use
Shape influences how you portion and slice a loaf, so assess those practical differences alongside appearance. A boule produces changing slice widths across the round; a bâtard may provide a longer central run of similarly sized slices. Measure only if that helps a real use, such as fitting a toaster or making sandwiches. A loaf with a spectacular ear may still be awkward for the portions you wanted.
For a shape comparison, keep formula, portion weight, proofing conditions, and baking setup as similar as possible. If a boule is baked in one vessel and a bâtard on an open stone, the result includes the baking-environment difference. State that limitation. Record cooled-loaf dimensions, slice usefulness, and any handling problems without claiming that one shape inherently guarantees a superior crumb. Choose the shape that you can execute comfortably and enjoy using at the table.
Sources & further reading
This guide combines published references with our own explanations and decision aids. Numerical examples are illustrative; they are not records of Sourdough Bench test bakes.
Put it into practice.
Keep the recipe, observations and next change together in your downloadable bake log. For a symptom-led starting point, use the loaf troubleshooting guide.