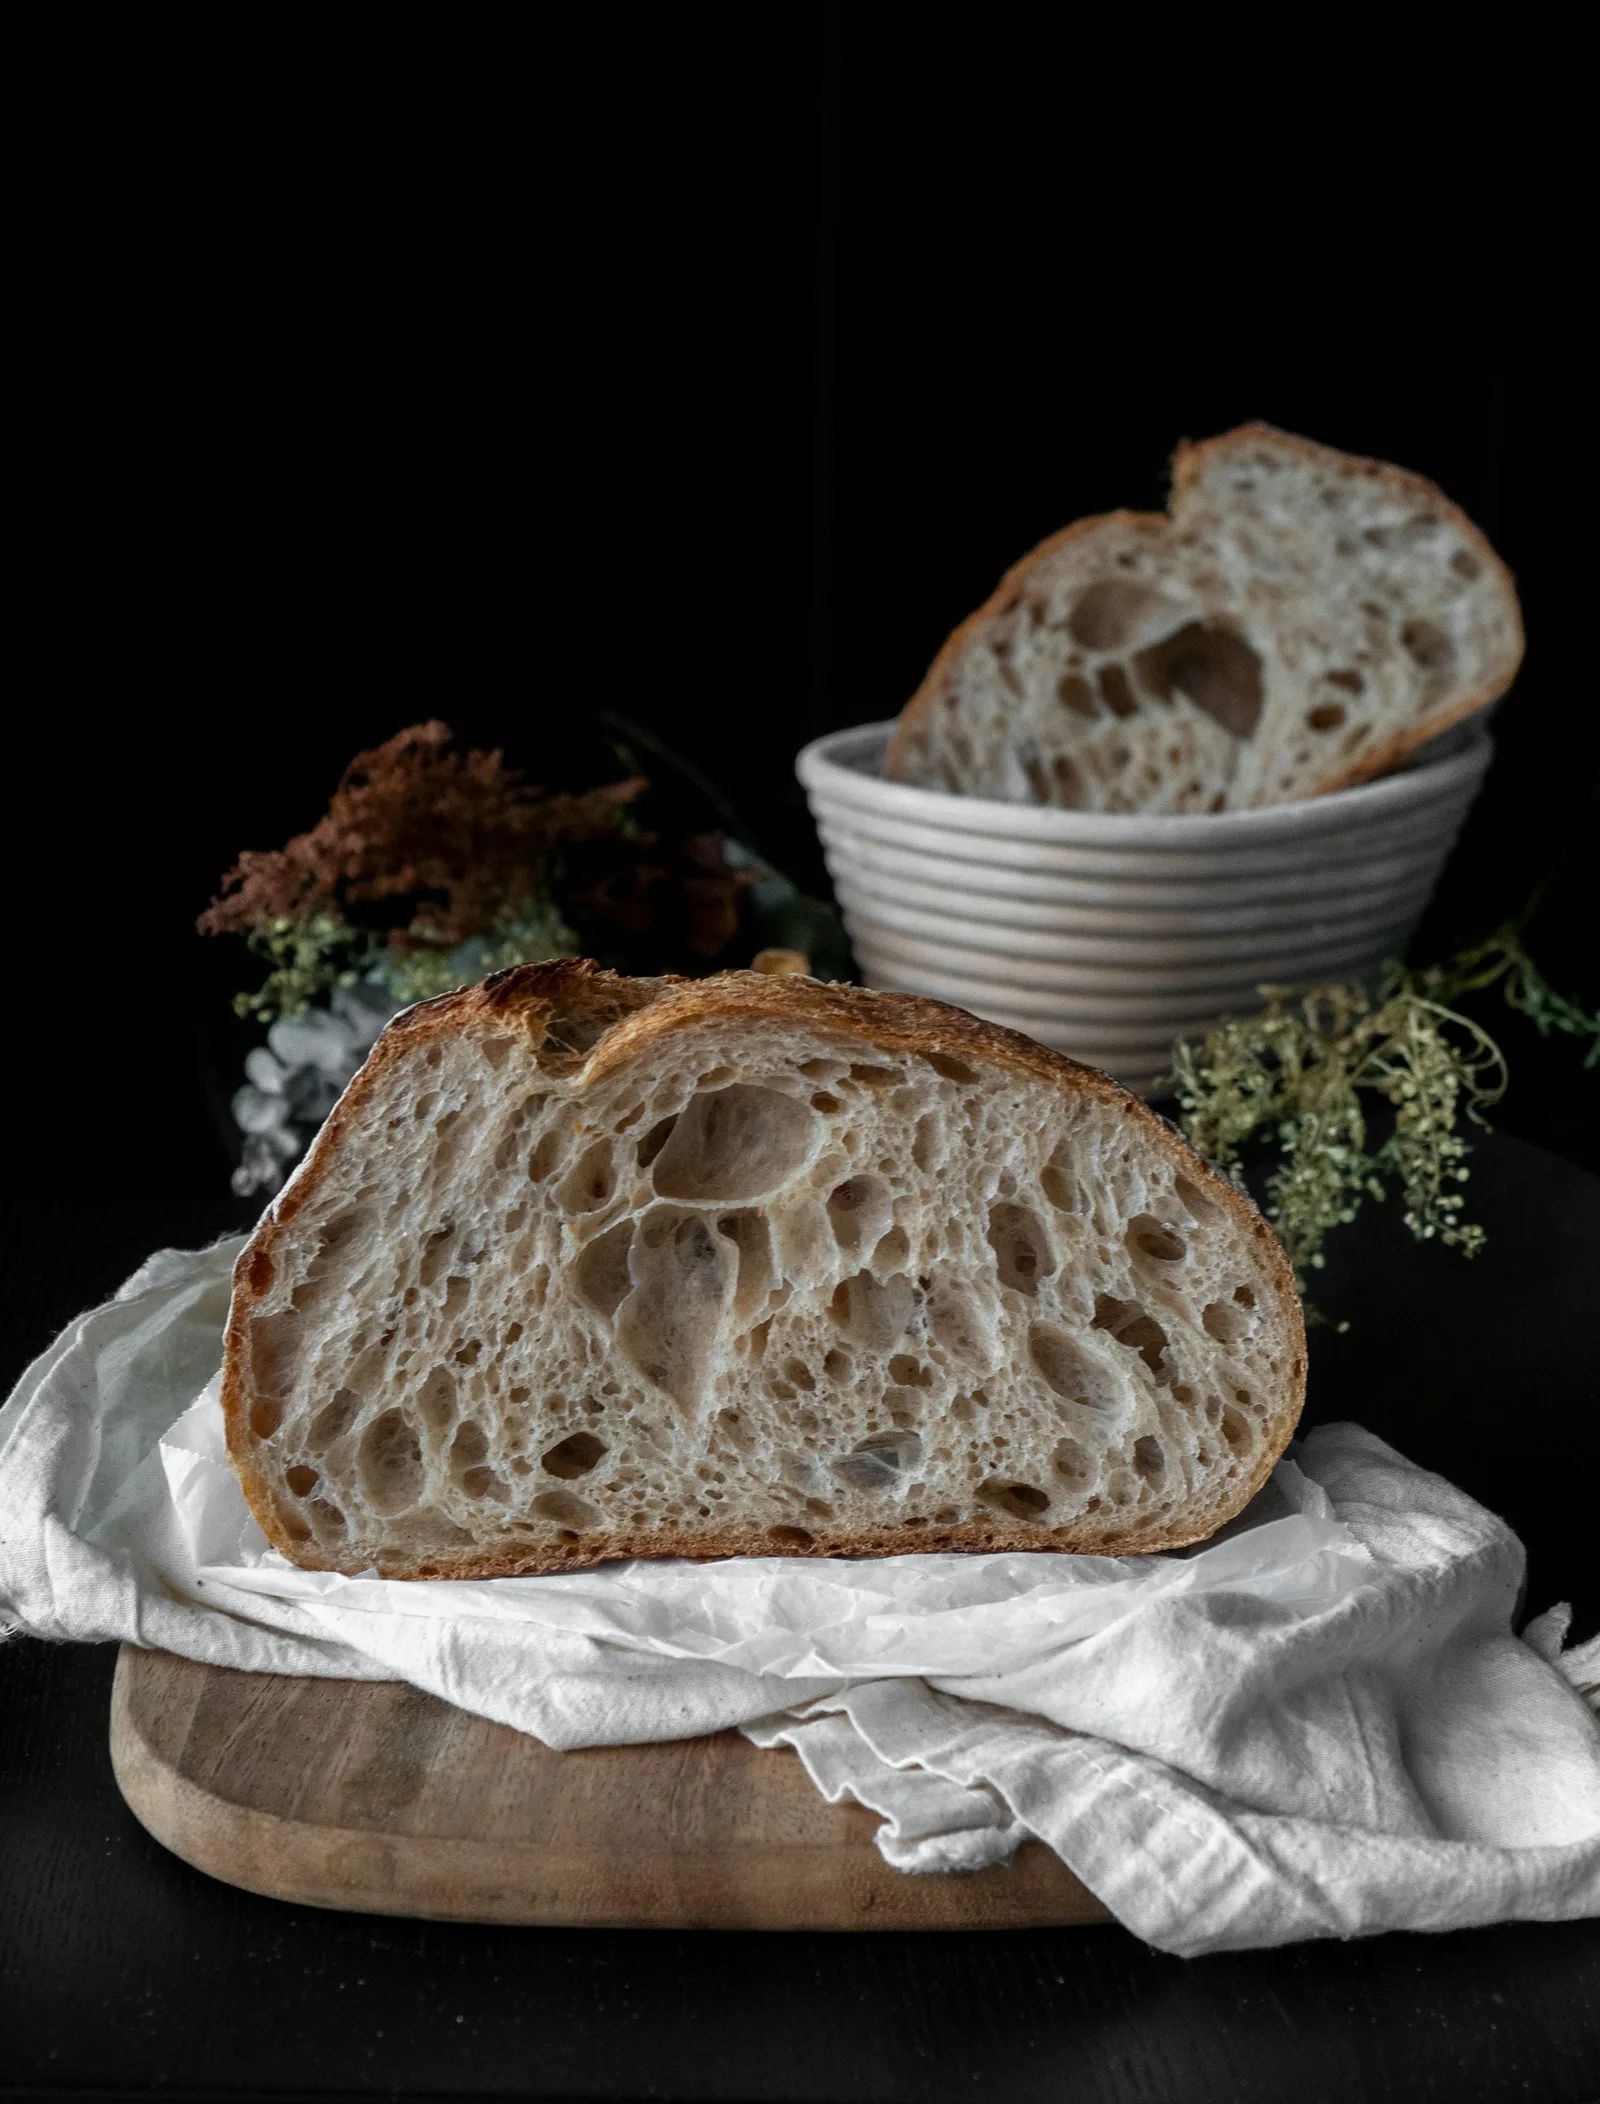
Bowl folds lift an edge over the dough; coil folds support the middle and tuck the ends underneath. Both can develop suitable wheat dough. Choose by dough condition, prior mixing, and container access, then stop increasing force when the dough resists.
- A set contains several movements; define how your recipe counts them.
- Judge the response after rest, not only the tidy shape immediately after folding.
- Tearing can come from grip, excessive extension, or a wider formula problem.
- Compare methods with the same formula and checkpoints before judging the loaf.
Choose a movement, then watch the response
Stretch-and-folds and coil folds are ways to organize and strengthen a suitable wheat-based dough during bulk fermentation. In a bowl fold, you lift an edge and lay it over the dough. In a coil fold, you support the middle and allow the ends to tuck underneath as the dough is lowered. Neither movement is a compulsory stage for every sourdough recipe, and neither automatically produces a more open crumb than the other.
The useful choice depends on the dough in front of you, the work already done during mixing, and the container you can handle comfortably. The Perfect Loaf describes stronger and gentler folding approaches rather than treating their names as competing systems. Start with your recipe's method. If changing it, preserve the ingredient formula and fermentation plan so you can judge the handling change without also changing the bread you intended to make.
Separate strength from stiffness and fermentation
A dough can feel resistant because it is relatively dry, because it has just been worked, or because its flour behaves differently from the one in a demonstration. Resistance alone does not prove that gluten development is complete. Similarly, a soft dough may still be coherent and well organized. Ask whether a section can extend as a connected sheet and whether the gathered mass holds together after the movement, rather than ranking every dough by how difficult it is to pull.
Fermentation progress is another question. Folding changes the shape of the mass and can release or redistribute some gas; it is not a substitute for the full bulk stage. King Arthur's bulk-fermentation guide places dough development and fermentation within the same period, but they are not interchangeable measurements. A smooth top immediately after a fold does not prove that the dough has fermented enough, and a rising dough does not tell you exactly how many additional folds it needs.
Set up the bowl before using your hands
Choose a food-safe container that allows access around the dough without forcing your fingers against a narrow neck. A coil fold needs enough room to support the center and lower the ends back into the vessel. A small, deep bowl may make an edge fold more convenient. This is a practical equipment choice, not evidence that rectangular containers produce better bread. If your current bowl works comfortably, changing it is not a prerequisite for learning the motion.
Keep a scraper nearby and lightly dampen your hands if needed to limit sticking. Shake off excess water rather than pouring it into the dough accidentally. Do not repeatedly dust flour into a wet mixture merely to make handling easier; that changes the formula you are learning. First check hand position, contact time, and whether the bowl sides need releasing. Prepare the cover before starting so the dough can rest again as soon as the set is finished.
Perform a restrained bowl fold
With the bowl stable, loosen one edge of the dough using damp fingers or a suitable scraper. Lift that portion until you feel increasing resistance, then fold it across the middle without deliberately tearing it. Turn the bowl and repeat from another side. Work around the mass according to the recipe, leaving a gathered piece rather than a tangle of loose flaps. The movement is an extension followed by a fold, not an attempt to pull the dough as high as possible.
A useful practice cue is to watch the base of the lifted section. If it narrows abruptly while the rest of the dough remains stuck, release more of the edge or reduce the lift. If the whole mass follows your hand, you may already have enough extension for that direction. Stop the set when further pulls would require forcing the dough. The goal is a controlled response; completing an arbitrary visual performance adds no useful information.
Perform a supported coil fold
Slide damp hands beneath the middle of the dough, supporting it rather than pinching a narrow strip. Lift slowly so an end releases, then lower the dough so that end folds underneath. Reposition or turn the container to work the other direction as the method requires. Let gravity assist the motion; do not suspend a heavy mass from fingertips. The Perfect Loaf's folding guide includes a demonstration of this under-folding movement, and King Arthur provides a separate coil-fold video.
If the ends will not release without tearing, return the dough gently to the container and reassess. It may need more rest, a different grip, or an edge fold that suits its current condition. Coil folding is not a test you must pass before proceeding with a recipe. In a large batch, lifting becomes a physical handling problem as well as a dough question. Use a container and method you can control without straining or dropping the mass.
Understand what a set actually means
A recipe's 'one set' usually includes movements from several directions. Another baker may count each individual lift as a fold. Before comparing notes, define the unit. 'Three sets, each working around four sides' is clearer than 'twelve folds,' especially when a coil-fold sequence combines several tucks in one lift. Do not double the handling because two instructions use different counting language for approximately the same operation.
This also changes how you interpret a schedule. If a recipe calls for sets at three checkpoints, doing twelve individual pulls at the first checkpoint does not reproduce the same process. Rest separates the sets, and the dough changes between them. Write the actual set times and the directions used, but avoid converting the count into a supposed strength score. Eight movements do not mean twice the dough development of four movements.
Use intervals as observation appointments
The resting period between sets gives you a chance to compare the dough after it has relaxed. Follow the interval in the recipe during the first attempt rather than borrowing a shorter schedule from a different formula. At the next checkpoint, inspect the mass before touching it: has it spread, does it retain a rounded edge, and are bubbles becoming visible? Then use the planned movement only if it still serves the method.
There is no need to disturb the dough every few minutes to confirm that it is improving. Repeated handling makes your own observations harder to interpret. If you missed a scheduled set, note the omission and inspect the dough instead of compressing several sets into a rapid catch-up session. A calendar reminder can bring you back to the bowl; it cannot determine whether another forceful movement is appropriate after the dough has changed.
Decide when the folding phase has done enough
Use the recipe's development cues together with the response to recent handling. If the dough gathers coherently, shows resistance to further extension, and no longer benefits from the previous intensity, a gentler set or the planned undisturbed rest may be appropriate. If it remains loose early in bulk, inspect the formula and mixing history before assuming that more folds are the only answer. Time, flour choice, and initial mixing are part of the same process.
Be particularly cautious about adding aggressive late folds just to obtain a tidier photograph. Once the dough is noticeably aerated, preserving its structure matters alongside developing it. The decision is not 'never touch bubbles'; many recipes intentionally handle aerated dough. It is whether your extra intervention belongs to the method or is an unplanned attempt to chase a visual ideal. Record the reason for a deviation so you can judge its usefulness afterward.
Work through a tearing problem in order
First locate the tear. A small flap ripped by sticky fingers suggests a grip or release problem. A section that resists strongly and then splits during a high pull suggests excessive extension for that moment. A mixture that has become progressively weaker throughout fermentation raises a different question about the formula and fermentation history. These observations can overlap, so they are branches for investigation rather than diagnoses made from one photograph.
Reduce the immediate force and keep the dough covered while you consult the recipe's next step. Check whether the water total was correct, whether late ingredients were fully incorporated, and whether the flour was substituted. Do not respond by adding flour, changing temperature, and repeating several hard sets simultaneously. That may leave you with a different dough and no explanation. Make the smallest relevant handling correction first, then preserve a note for the next batch.
| What you notice | First adjustment | What to investigate later |
|---|---|---|
| Edge sticks to fingers | Release the edge and dampen hands lightly | Grip and container access |
| Dough resists then tears | Reduce extension and allow the planned rest | Timing and force |
| Dough weakens throughout bulk | Avoid forceful catch-up sets | Formula, flour, temperature, fermentation |
| Large inclusion catches a stretch | Support around the obstruction | Inclusion size and incorporation stage |
Keep added ingredients from turning into sharp obstacles
If a recipe includes nuts, seeds, dried fruit, or other additions, follow its specified incorporation stage. A large hard inclusion can interrupt a stretch even when the surrounding dough is sound. Support the dough around it instead of pulling directly across the obstruction. The question becomes how to distribute the addition while preserving the dough's continuity, not how to perform the tallest possible fold with an ingredient that resists that movement.
For a first attempt at a new inclusion, keep its quantity and preparation method explicit. 'A handful of seeds' makes comparison difficult because both mass and water contribution may vary. If the recipe uses a soaked addition, record whether retained water is included in its formula. You do not need a new hydration calculation during every fold, but you do need to know whether the mixture changed before blaming the technique for a suddenly different feel.
Compare methods with one manageable experiment
An illustrative paired trial begins with a familiar 1,800 g mixed batch divided into two 900 g portions before the planned folding period. Label the containers A and B, use similar vessel dimensions, and keep both in the same conditions. Apply the recipe's bowl-fold approach to A and a carefully documented coil-fold approach to B at the same observation checkpoints. This is a proposed comparison design, not a report of Sourdough Bench test bakes.
Keep mixing, formula, loaf size, and later shaping as consistent as practical. Record differences in ease of handling, sticking, tearing, and organization before comparing finished loaf height. If A receives more force because you are experienced with bowl folds, the trial compares your two workflows rather than isolating the movement alone. That can still answer the useful question: which method lets you handle this dough consistently with less accidental damage?
Evaluate the loaf without overinterpreting it
After appropriate cooling, compare slices from similar positions in each loaf, using the same orientation and scale in any photographs. Include the exterior shape and practical eating quality. A single large hole does not establish that one folding method is superior. If the two loaves were baked sequentially, the later one also had a different waiting period; record that difference. A change in oven setup can obscure any earlier difference in dough handling.
Breadtopia's comparison of a no-knead approach with a more involved workflow is useful as an example of asking whether additional operations help, but it changes more than one technique. Do not turn a published comparison into a universal instruction to skip all folds or maximize them. For your own trial, keep the conclusion narrow: a method was easier to execute, required fewer corrections, or produced no clear difference under the conditions you recorded.
Make a small folding record you can reuse
Use one line per set: time, movement, condition before, condition after, and any unexpected event. An entry might read 'second set; bowl fold; spread to the corners; gathered without tearing; no extra water.' That describes what happened without inventing a numerical gluten rating. Add the final undisturbed interval so your future self knows when hands-on development ended and observation continued.
Once one method becomes comfortable, keep it as your default for the relevant dough rather than switching techniques every bake. Learn the alternative because it gives you another handling option, not because its name promises a better loaf. The best result from this comparison may be a more confident movement and fewer emergency adjustments. Those improvements are concrete, repeatable, and directly useful even when two finished breads look much alike.
Sources & further reading
This guide combines published references with our own explanations and decision aids. Numerical examples are illustrative; they are not records of Sourdough Bench test bakes.
Put it into practice.
Keep the recipe, observations and next change together in your downloadable bake log. For a symptom-led starting point, use the loaf troubleshooting guide.