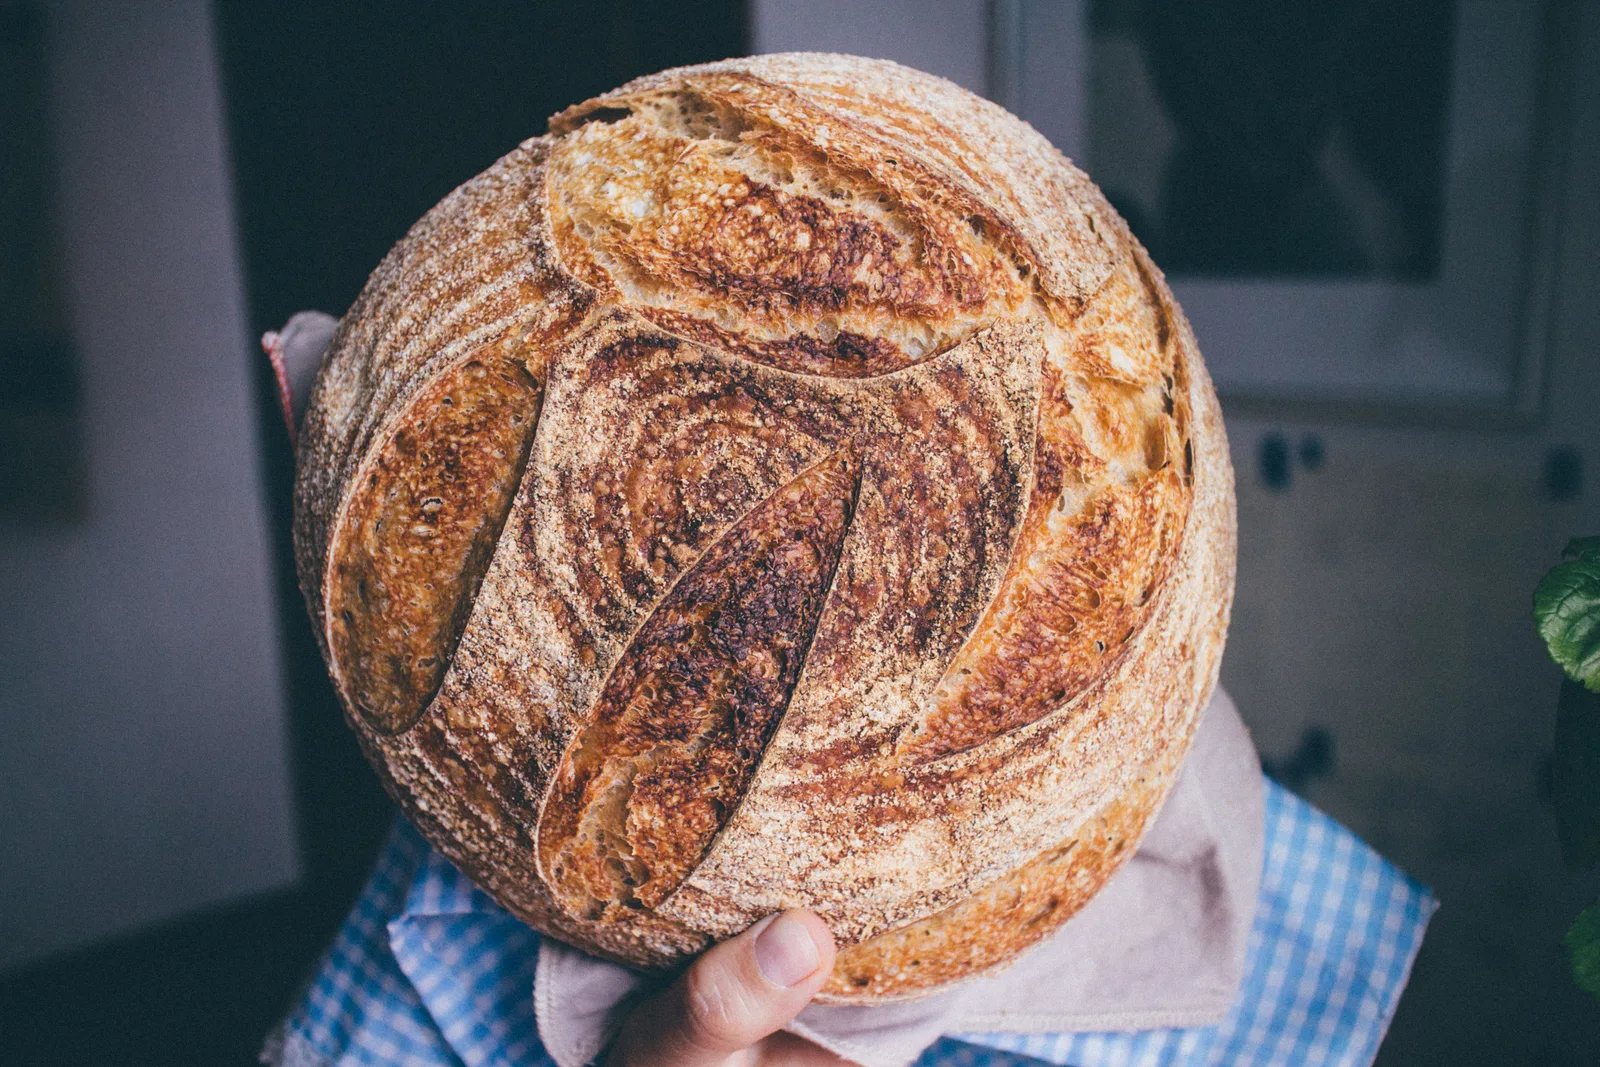
Begin with flour and water, refresh a measured portion on a consistent schedule, and wait for a repeatable rise after feeding. Early bubbles and a calendar date do not establish baking readiness.
- Use a scale and mark the level immediately after each feed.
- Follow one complete creation method before changing several variables.
- Look for repeatable activity across refreshments rather than a promised completion day.
- Discard a culture with mold or pink or orange discoloration.
Prepare for a small ongoing project
Making a starter means establishing a culture through a sequence of observations and refreshments. The first mixture takes little time, but the following days need enough attention to weigh a retained portion, add fresh ingredients, and inspect the jar. Choose a start date when that routine is practical. Avoid beginning immediately before travel or promising a naturally leavened loaf for a fixed dinner next weekend. The useful outcome is a dependable culture, not a jar that reaches an assigned birthday.
This guide uses a flour-and-water approach. Keep fruit, dairy, sugar, and other additions out of this particular method so the procedure remains understandable. If you choose a different published approach, follow that method as a whole. Combining its first step with another author's feeding schedule creates a third method whose results neither source describes. Set aside a place for the source link, your starting date, and the weights you actually use.
Assemble equipment that makes change visible
A kitchen scale, a suitable clear food container, a lid, and a small spatula are enough for the basic work. The container should leave generous space for expansion and allow you to reach the bottom while stirring. A narrow vessel that is difficult to clean is inconvenient; an enormous mixing bowl makes a small starter's rise difficult to read. A second clean container is useful for transferring a measured portion without trying to calculate how much remains among old streaks.
Record the empty jar's weight if you want to check the amount left inside later. For example, if the empty jar is 240g and jar plus starter is 390g, the contents weigh 150g. Reweigh when you change jars or lids: a different vessel invalidates the old subtraction. An elastic band or removable mark can identify the level after feeding. Keep the mark near the actual mixture, and distinguish today's mark from yesterday's dried residue.
Choose ingredients you can keep consistent
Use the flour named by your chosen creation method and water suitable for drinking. For the reference method below, begin with whole wheat or whole rye flour and use unbleached all-purpose flour for later feeds. Buy enough to complete several refreshment cycles without an unplanned flour change. A product label and purchase date in your notes are sufficient; an elaborate collection of specialty flours is unnecessary when your first question is whether the culture behaves consistently.
Measure flour and water by mass. Equal cups are not equal grams, so a cup of each does not produce an equal-weight mixture. Keep the same water source while establishing your baseline. If you suspect an ingredient problem later, change one identified input and record it. Buying several new flours and switching water at the same time may produce a different result, but it will not reveal which change mattered.
A compact creation method to follow
King Arthur's current starter recipe begins with 50g whole-grain flour and 50g water. After about a day, retain 50g mixture and add 50g each water and all-purpose flour. Beginning on day three, its method uses that refreshment twice daily, roughly 12 hours apart. Keep the vessel loosely covered. These intervals organize care and do not guarantee maturity on a particular day.
At every refreshment, thoroughly combine the retained portion with the additions and remove dry pockets at the bottom. Mark the new starting level after mixing. Read the linked original recipe for its complete instructions and temperature guidance. The steps here are a concise reference; the sections below explain how to measure, observe, and troubleshoot without confusing the amount of starter with its readiness.
| Stage in the reference method | Retained mixture | Fresh flour | Fresh water |
|---|---|---|---|
| Initial mix | None | 50g whole grain | 50g |
| First refreshment | 50g | 50g all-purpose | 50g |
| Later refreshments | 50g | 50g all-purpose | 50g |
Weigh the portion retained, not the amount removed
The important feeding number is what remains to receive fresh ingredients. If the jar contains 150g and the instruction is to retain 50g, remove 100g. If it contains 120g after transfer losses, remove 70g. Removing a fixed 50g on every occasion would leave a different seed amount and change the ratio. Transferring the required portion into a clean, tared jar is often the clearest way to avoid this error.
With 50g retained mixture plus 50g flour and 50g water, the new build weighs 150g before handling losses. It is a 1:1:1 feed in the order starter:flour:water. Keeping all 150g and adding only 50g of each produces 250g at 3:1:1 instead. That is not the same refreshment. The distinction matters when investigating slow progress: first verify what went into the jar before trying to explain the culture's response.
Budget ingredients without making an oversized culture
For a planning example, the initial mixture uses 50g flour, the next day's feed uses another 50g, and five further days with two 50g flour additions per day use 500g. That particular seven-day sequence needs 600g flour altogether. It is an ingredient budget, not a prediction that a starter will be ready after seven days. Keep additional flour available if the method needs to continue.
If the quantities seem unnecessarily large for your needs, choose a documented smaller method before starting, or scale every ingredient consistently using weights you can measure accurately. Do not gradually shrink only the flour additions while leaving the retained culture unchanged. Very small builds create their own inconvenience when the scale cannot resolve the seed reliably. Choose a manageable batch that makes the feeding arithmetic and visible rise easy to follow.
Make the feeding station easy to reset: keep the scale, flour label, clean utensil, and note together. Before finishing each session, check that the jar has its new level mark and current feed time. This small check prevents an old mark from being interpreted as today's rise. It also lets another household member follow the same routine without guessing which step was completed.
Make the first observations descriptive
Check the starter before stirring or feeding so you can see what happened since the previous mark. Note whether the level rose, remained similar, or fell from a higher residue line. Describe bubbles, surface appearance, and aroma without tasting. A short record such as 'higher than yesterday's feed mark; bubbles along the wall' is more useful than simply writing 'good.' It gives you something specific to compare after the next refreshment.
One vigorous expansion early in creation does not establish a stable pattern. Breadtopia's creation guide describes the process as variable rather than a fixed countdown. Continue the chosen method and observe later feeds instead of advancing to bread on the strength of one exciting event. Take photographs from the same angle when you need help comparing days. A photograph taken before feeding and one taken just after feeding should not be treated as equivalent stages.
When activity appears to slow down
Start with a short audit of the routine. Did you retain the intended grams? Were both new ingredients weighed? Did the jar move? Did the room become colder? Did you inspect it only after it had already risen and fallen? These are checkable questions. Answer them before adding an unfamiliar ingredient or adopting a much larger feeding ratio. A changed appearance is an observation; it is not yet a diagnosis of failure.
Look through the sides as well as at the top. If your observation window is too sparse, you may miss part of the cycle. Set a few convenient checks between feeds for one day and leave the mixture undisturbed between them. Record what you can see rather than feeding repeatedly whenever nothing dramatic happens. If progress remains uncertain despite a consistent routine, use the original method's troubleshooting guidance with your notes in front of you.
Keep the environment understandable
Choose a location where you can inspect the jar and where temperatures are not changing unpredictably. If you use a warmer area, measure the actual conditions instead of assuming it is gently warm. An appliance surface, sunlight, or enclosed space can vary over the day. The goal is a repeatable location, not the hottest place available. Label the jar so another person will not mistake it for a finished food or discard it during cleanup.
South Dakota State University Extension identifies temperature, ingredients, and regular care as relevant to starter development. That supports recording conditions, not imposing one universal completion time. When moving the jar, write down when and where it moved. A faster rise afterward may be useful information, but do not compare the two days as though location was unchanged. Consistent observation usually provides more useful evidence than making a series of unrecorded adjustments.
Know when to stop and start again
Colorado State University Extension says a moldy starter should be discarded and the container cleaned before reuse. King Arthur also advises discarding pink or orange growth or discoloration. Do not scrape off a suspicious surface and continue feeding the material underneath. Revival advice for a neglected but uncontaminated mature culture does not justify retaining a new culture with contamination signs.
The FDA advises against eating raw flour or dough; do not taste starter to assess readiness. Wash hands and clean utensils and surfaces after handling the mixture. This applies even when it smells pleasantly fermented. During creation, treat removed material as waste rather than building a collection of food ingredients from an unestablished culture. If a surface change cannot be confidently identified, do not convert uncertainty into reassurance by comparing it with a low-resolution online photograph.
Move to bread only after a repeatable response
Look for a dependable response to comparable refreshments, then consult the recipe's requirement for ripe starter. A useful handoff record includes the feeding ratio, flour, location, and the observed rise pattern. It should describe what your starter does under those conditions. Do not replace that record with 'day five' or 'passed the float test.' The first describes elapsed time; the second is only a limited physical observation.
Plan a modest first bake using a complete recipe matched to your starter's hydration. Calculate the levain amount and keep a deliberate reserve so you do not consume the whole culture. If the culture's behavior is still inconsistent, continue its care instead of using extra grams as a substitute for readiness. Once established, choose a maintenance routine that fits how often you bake. Creation, routine care, and building levain for bread are connected stages with different immediate goals.
Sources & further reading
This guide combines published references with our own explanations and decision aids. Numerical examples are illustrative; they are not records of Sourdough Bench test bakes.
Put it into practice.
Keep the recipe, observations and next change together in your downloadable bake log. For a symptom-led starting point, use the loaf troubleshooting guide.