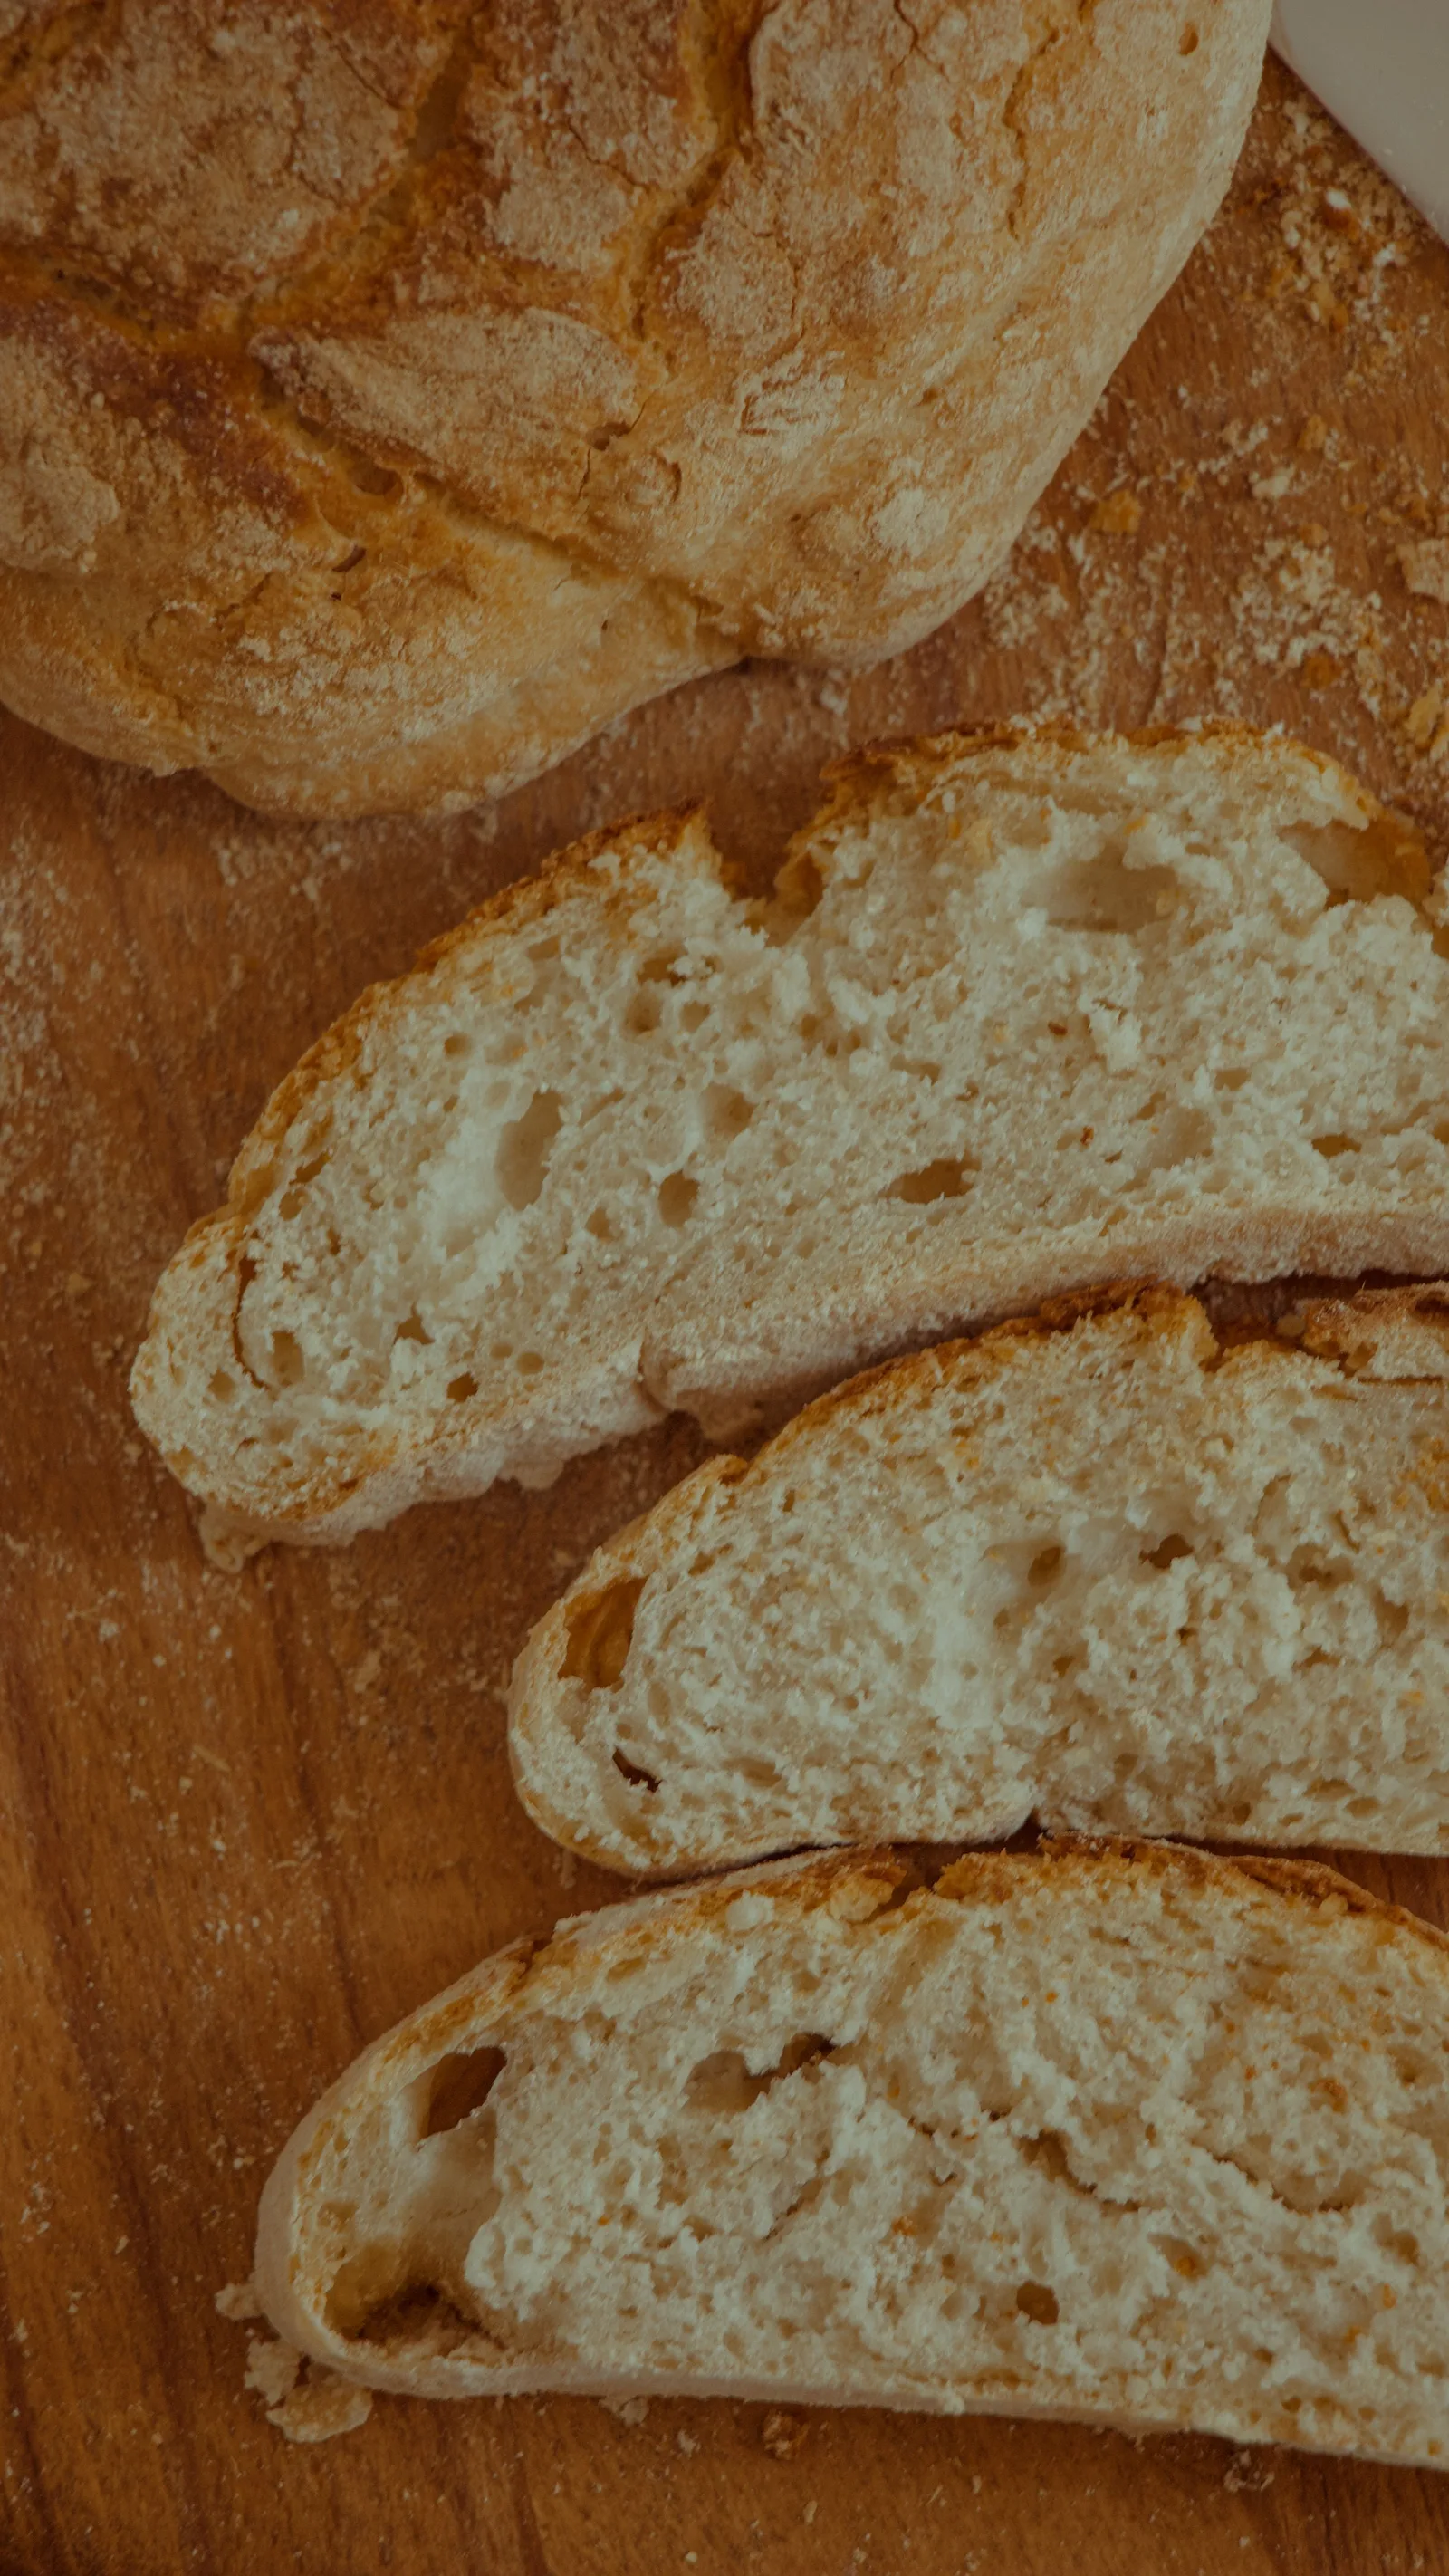
Assess gumminess after complete cooling, then check loaf size and baking evidence before changing hydration. A sticky center can involve baking, fermentation, or a formula change; one internal temperature reading or one crumb photograph cannot identify the cause.
- Compare cooled slices and record where the sticky texture appears.
- Use the recipe’s doneness guidance with more than a thermometer reading.
- Keep loaf size, flour blend, and water additions visible in the record.
- Do not taste raw dough or salvage moldy bread.
Describe the texture before naming the cause
Gummy crumb is an interior that feels pasty, smears during slicing, or compresses into a sticky mass instead of behaving like a finished slice. It is not the same as a moist crumb with cleanly defined cells. Begin with the cooled loaf, because a warm cut and a cool cut are different observations and should not be judged as equivalent.
Describe where the problem appears and what you actually did. A central slice left paste on the knife is more useful than the loaf was wet. Record whether the bread was still warm, whether the knife was clean, and whether pressure crushed the slice. Avoid tasting a questionable doughy center to decide whether it is sufficiently baked; raw dough is not a doneness test.
Start with the cooling history
King Arthur Baking's doneness guidance explains that the internal structure continues setting during cooling and recommends allowing bread to cool before slicing. A loaf opened while warm can therefore give a misleading picture of its final crumb. If you already cut it early, record that fact instead of concluding that the fermentation or hydration must have been wrong.
For the next comparison, leave a similar loaf intact until fully cool, then inspect a central slice. Do not declare a fixed waiting time for all bread: a large dense round, a smaller wheat loaf, and a rye-heavy loaf do not cool identically. Let the recipe's cooling guidance and the actual loaf guide the decision, and keep the observation separate from the oven exit time.
Map the affected area
Cutting several thin samples from the same damaged spot does not show how widespread the problem is. Examine a central cross-section and, if appropriate, another section farther from the center. Note whether the texture is uniform, concentrated at the base, clustered around an inclusion, or limited to a compressed streak. Keep the slices in order for a quick photograph.
This map determines which question deserves attention first. A localized wet pocket around fruit does not have the same evidential weight as paste throughout a plain loaf. A band following a shaping seam may deserve a handling check. None of these patterns proves its cause alone; they simply help you choose a useful comparison instead of treating every sticky slice with a longer bake.
| Observed stickiness | First distinction | Next controlled check |
|---|---|---|
| Only assessed while warm | Warm-cut damage versus persistent gumminess | Evaluate a comparable loaf after complete cooling |
| Pasty center in an unusually large loaf | Formula problem versus changed baking geometry | Return to the recipe’s specified loaf size |
| Dark top with a pale lower surface | Overall bake versus uneven heat exposure | Record rack, vessel, and oven mode |
| Wet pocket around an inclusion | Local ingredient issue versus whole-dough issue | Compare distribution and a plain version |
| Cooled loaf sticky throughout | Multiple stages still possible | Review baking evidence, then fermentation and water totals |
Check the recipe and loaf size together
Revisit the actual baking instructions, including dough weight, shape, pan, and oven mode. Doubling a recipe's ingredient quantities but making one giant loaf changes the baking problem. Its listed time may have been written for two smaller loaves. Likewise, converting a shallow bread into a tall round changes the distance from the surface to the center.
A clear next test restores the original portion size and vessel before changing the formula. If the original method used two loaves, divide the dough accordingly and record their weights. Do not treat this as a promise that the published time will match your oven exactly. It simply removes an important mismatch and gives you a more meaningful basis for observing doneness.
Treat internal temperature as one piece of evidence
An instant-read thermometer can provide useful information, but a number should not replace the rest of the recipe's doneness checks. King Arthur's thermometer discussion shows that different bread styles have different baking endpoints. Its later doneness article also notes that a loaf can reach an expected internal temperature before the baking process is complete.
Record where the probe was placed and what the other signs showed. A shallow reading near a hot crust is not the same as a central reading. A single number copied from another bread style is not a validated target for this formula. Use the recipe's endpoint with crust, sides, base, and cooled texture rather than choosing the highest temperature you can find online.
Investigate uneven baking before adding minutes blindly
A dark top with a pale or soft lower surface is different from an evenly colored loaf with a sticky center. Write down the rack position, whether a covered vessel was used, and when it was uncovered. Also note changes in fan setting or oven mode. The oven display is a setting; it does not describe every surface surrounding the bread.
If the exterior browned very early, extending the same intense exposure may simply deepen that imbalance. Return to a tested method appropriate to the loaf and equipment. Check the oven's behavior with an independent thermometer if available. Choose one setup correction for the next bake, then compare all sides of the bread rather than evaluating only the photogenic top crust.
Look backward at fermentation
If cooling and baking were documented and the crumb remains heavy and pasty, review the dough before it entered the oven. Was bulk ended by an observed condition or just a deadline? Did the shaped loaf show the recipe's expected development? More baking time cannot answer a missing fermentation record, even when a longer bake changes how dry the final slice feels.
Use the density and rise guides to investigate those stages rather than making a diagnosis from gumminess alone. For the next trial, preserve the baking setup while improving the fermentation observations. If you simultaneously extend fermentation and change oven temperature, a better loaf may not tell you which change mattered. Keep the question narrow enough that the result can actually teach you something.
Audit hydration with every water addition included
The water entered at the start of mixing may not be the full amount in the dough. Starter contributes water, as can a measured holdback, a soaker, or wet inclusions. King Arthur's high-hydration guidance emphasizes knowing the formula before handling slack dough. An unexplained hydration change deserves investigation, but high hydration itself is not proof that the loaf must become gummy.
Consider an illustrative batch with 500 g total flour and 375 g total water: 75% hydration. A late 25 g addition brings the water to 400 g, or 80%. A note that says added a splash hides that difference. If you test a reduction next time, reduce a known water quantity before mixing, retain the same flour blend, and record the achieved percentage.
Keep rye and enriched breads in their own category
A rye-heavy bread should be evaluated against a recipe designed for its flour blend. King Arthur's thermometer guidance treats rye separately from ordinary wheat pan bread, and some dense rye formulas also specify a longer rest before slicing. Do not transfer the visual standard of an open white country loaf to a different style simply because both use sourdough starter.
Enriched or filled breads introduce another comparison problem. Milk, eggs, fruit, or cheese change the formula beyond its plain-water entry. Write down the complete ingredient list and follow the appropriate method for that bread. This guide cannot convert the water shown by a basic calculator into an exact measure of all moisture in a complex loaf, and that distinction belongs in your notes.
Examine inclusions without guessing their water content
Record inclusions as their own ingredients: what they were, whether they were soaked, and whether liquid was drained. If the bread is sticky only around a pocket of fruit or cheese, photograph that area separately. Check whether the distribution was even. A local pocket is not enough evidence to rewrite the hydration of the entire dough.
For a diagnostic bake, an otherwise identical plain version can help distinguish the base dough from the inclusion method. This is a comparison plan, not a claim that every filling causes gumminess. If the plain bread cuts cleanly, return to the specific filled recipe and review its quantities and instructions. Use storage guidance for the filling as well as for the surrounding bread.
A comparison that isolates cooling
Imagine two observations of the same plain wheat formula. The first loaf was sliced shortly after leaving the oven and compressed under the knife. Its notebook has no central temperature or base photograph. The baker wants to reduce water immediately, but the existing evidence cannot separate premature slicing from baking and fermentation differences. A water change would add another variable.
A more useful next bake keeps the documented formula and baking method, then adds a complete cooling record and a careful central cut. If that loaf slices cleanly, repeat the process before concluding that water was never a factor. If it still smears, you now have a cooled example and better baking evidence, so the next question can be more specific rather than broader.
A comparison that isolates baking geometry
Now imagine a formula normally divided into two equal loaves being baked as one large round. The crust looks familiar, but the center has a pasty band. The most direct next comparison is to return to the specified loaf size while retaining the ingredient ratios. That tests the changed format before asking the starter, flour, or water to compensate for it.
Record the dough mass and cooled mass if you want an additional comparison. For example, a 900 g dough becoming a 780 g loaf loses 120 g, or about 13.3% of its starting mass. This is arithmetic, not a universal doneness threshold. Compare only like-for-like loaves at the same cooling stage; mass loss cannot certify safety or identify the cause of gumminess.
Choose a safe outcome for this loaf
A fully baked loaf with an unappealing texture is a quality issue; an uncertain doughy center is a reason to stop treating the slice as ready to eat. FDA guidance says flour and raw dough require cooking. Toasting a small corner does not establish what happened throughout a large loaf, so do not use it as a blanket assurance for an uncertain batch.
If the loaf has mold, discard it rather than cutting away the visible patch. If it contains a perishable filling or has an unclear storage history, use the relevant food-safety guidance instead of a plain-bread salvage idea. Keep useful photographs and notes even when the loaf is discarded. Troubleshooting can continue without turning an uncertain piece of bread into a tasting experiment.
Write the next test as a single sentence
Choose the earliest unresolved question: cooling, loaf size, oven behavior, fermentation, or a documented ingredient change. A sentence such as keep the formula and bake the original two-loaf format is specific enough to follow. Add the observations you will collect: loaf weight, oven stages, cooling condition, and the location of any sticky areas after slicing.
Avoid declaring success solely because the bread is drier. The goal is a properly baked loaf with the intended texture, not the removal of every trace of moisture. Compare clean slicing, resilience, evenness, and eating quality when the bread is suitable to eat. Those separate observations make it easier to improve the result without overcorrecting into a dry crumb and excessively hard crust.
Sources & further reading
This guide combines published references with our own explanations and decision aids. Numerical examples are illustrative; they are not records of Sourdough Bench test bakes.
Put it into practice.
Keep the recipe, observations and next change together in your downloadable bake log. For a symptom-led starting point, use the loaf troubleshooting guide.